Notifications
现在用户们可以给帖子添加评论了,让他们互相知道讨论已经开始了是个好主意。
我们将通知帖子的作者已经有用户在他的帖子上添加了评论,并且提供一个链接可以看到评论。
这是 Meteor 真正闪光的特性之一:因为 Meteor 在默认情况下是实时的,我们会_瞬时_看到这些 notifications。不需要用户去刷新页面或者做其他检查,我们不需要写任何特殊代码就可以得到一个简单的 notifications 弹出框。
生成 Notifications
当有人在你的帖子上添加评论时我们将生成一个 notification。在后面,notifications 会扩展覆盖很多其他情况,但是目前让用户知道正在发生什么就足够了。
让我们先创建一个 Notifications 集合,和一个方法 createCommentNotification,当有人在你的帖子下添加评论时该方法会添加一个 notification 到集合。
因为我们将从客户端更新 notifications, 我们需要确定 allow 方法是防弹的。我们检查如下内容:
- 用户是文档的创建者才能调用
update方法 - 用户只更新一个属性
- 更新的属性名字是
read
Notifications = new Mongo.Collection('notifications');

Notifications.allow({
  update: function(userId, doc, fieldNames) {
    return ownsDocument(userId, doc) &&
      fieldNames.length === 1 && fieldNames[0] === 'read';
  }
});

createCommentNotification = function(comment) {
  var post = Posts.findOne(comment.postId);
  if (comment.userId !== post.userId) {
    Notifications.insert({
      userId: post.userId,
      postId: post._id,
      commentId: comment._id,
      commenterName: comment.author,
      read: false
    });
  }
};和帖子和评论一样,Notifications 集合也是在服务器端和客户端共享的。用户看完 notifications 后,我们需要更新他们,因此需要允许更新操作。和其他部分一样只有拥有 notification 的用户才允许更新操作。
我们写了个简单的程序用来当用户给帖子添加评论时找到需要通知的用户,并插入一个新的 notification。
我们已经在服务器端方法创建了评论对象,我们用 comment._id = Comments.insert(comment) 来替换 return Comments.insert(comment);。这样就能在评论对象中保存 _id, 然后调用 createCommentNotification 方法:
Comments = new Mongo.Collection('comments');

Meteor.methods({
  commentInsert: function(commentAttributes) {

    //...

    comment = _.extend(commentAttributes, {
      userId: user._id,
      author: user.username,
      submitted: new Date()
    });

    // update the post with the number of comments
    Posts.update(comment.postId, {$inc: {commentsCount: 1}});

    // create the comment, save the id
    comment._id = Comments.insert(comment);

    // now create a notification, informing the user that there's been a comment
    createCommentNotification(comment);

    return comment._id;
  }
});
接下来发布 notifications:
Meteor.publish('posts', function() {
  return Posts.find();
});

Meteor.publish('comments', function(postId) {
  check(postId, String);
  return Comments.find({postId: postId});
});

Meteor.publish('notifications', function() {
  return Notifications.find();
});
在客户端订阅 notifications:
Router.configure({
  layoutTemplate: 'layout',
  loadingTemplate: 'loading',
  notFoundTemplate: 'notFound',
  waitOn: function() {
    return [Meteor.subscribe('posts'), Meteor.subscribe('notifications')]
  }
});
显示 Notifications
现在我们在 header 中添加一个 notifications 列表。
<template name="header">
  <nav class="navbar navbar-default" role="navigation">
    <div class="container-fluid">
      <div class="navbar-header">
        <button type="button" class="navbar-toggle collapsed" data-toggle="collapse" data-target="#navigation">
          <span class="sr-only">Toggle navigation</span>
          <span class="icon-bar"></span>
          <span class="icon-bar"></span>
          <span class="icon-bar"></span>
        </button>
        <a class="navbar-brand" href="{{pathFor 'postsList'}}">Microscope</a>
      </div>
      <div class="collapse navbar-collapse" id="navigation">
        <ul class="nav navbar-nav">
          {{#if currentUser}}
            <li>
              <a href="{{pathFor 'postSubmit'}}">Submit Post</a>
            </li>
            <li class="dropdown">
              {{> notifications}}
            </li>
          {{/if}}
        </ul>
        <ul class="nav navbar-nav navbar-right">
          {{> loginButtons}}
        </ul>
      </div>
    </div>
  </nav>
</template>
接下来创建 notifications 和 notificationItem 模板 (两个模板都在 notifications.HTML 文件中):
<template name="notifications">
<a href="#" class="dropdown-toggle" data-toggle="dropdown">
Notifications
{{#if notificationCount}}
<span class="badge badge-inverse">{{notificationCount}}</span>
{{/if}}
<b class="caret"></b>
</a>
<ul class="notification dropdown-menu">
{{#if notificationCount}}
{{#each notifications}}
{{> notificationItem}}
{{/each}}
{{else}}
<li><span>No Notifications</span></li>
{{/if}}
</ul>
</template>
<template name="notificationItem">
<li>
<a href="{{notificationPostPath}}">
<strong>{{commenterName}}</strong> commented on your post
</a>
</li>
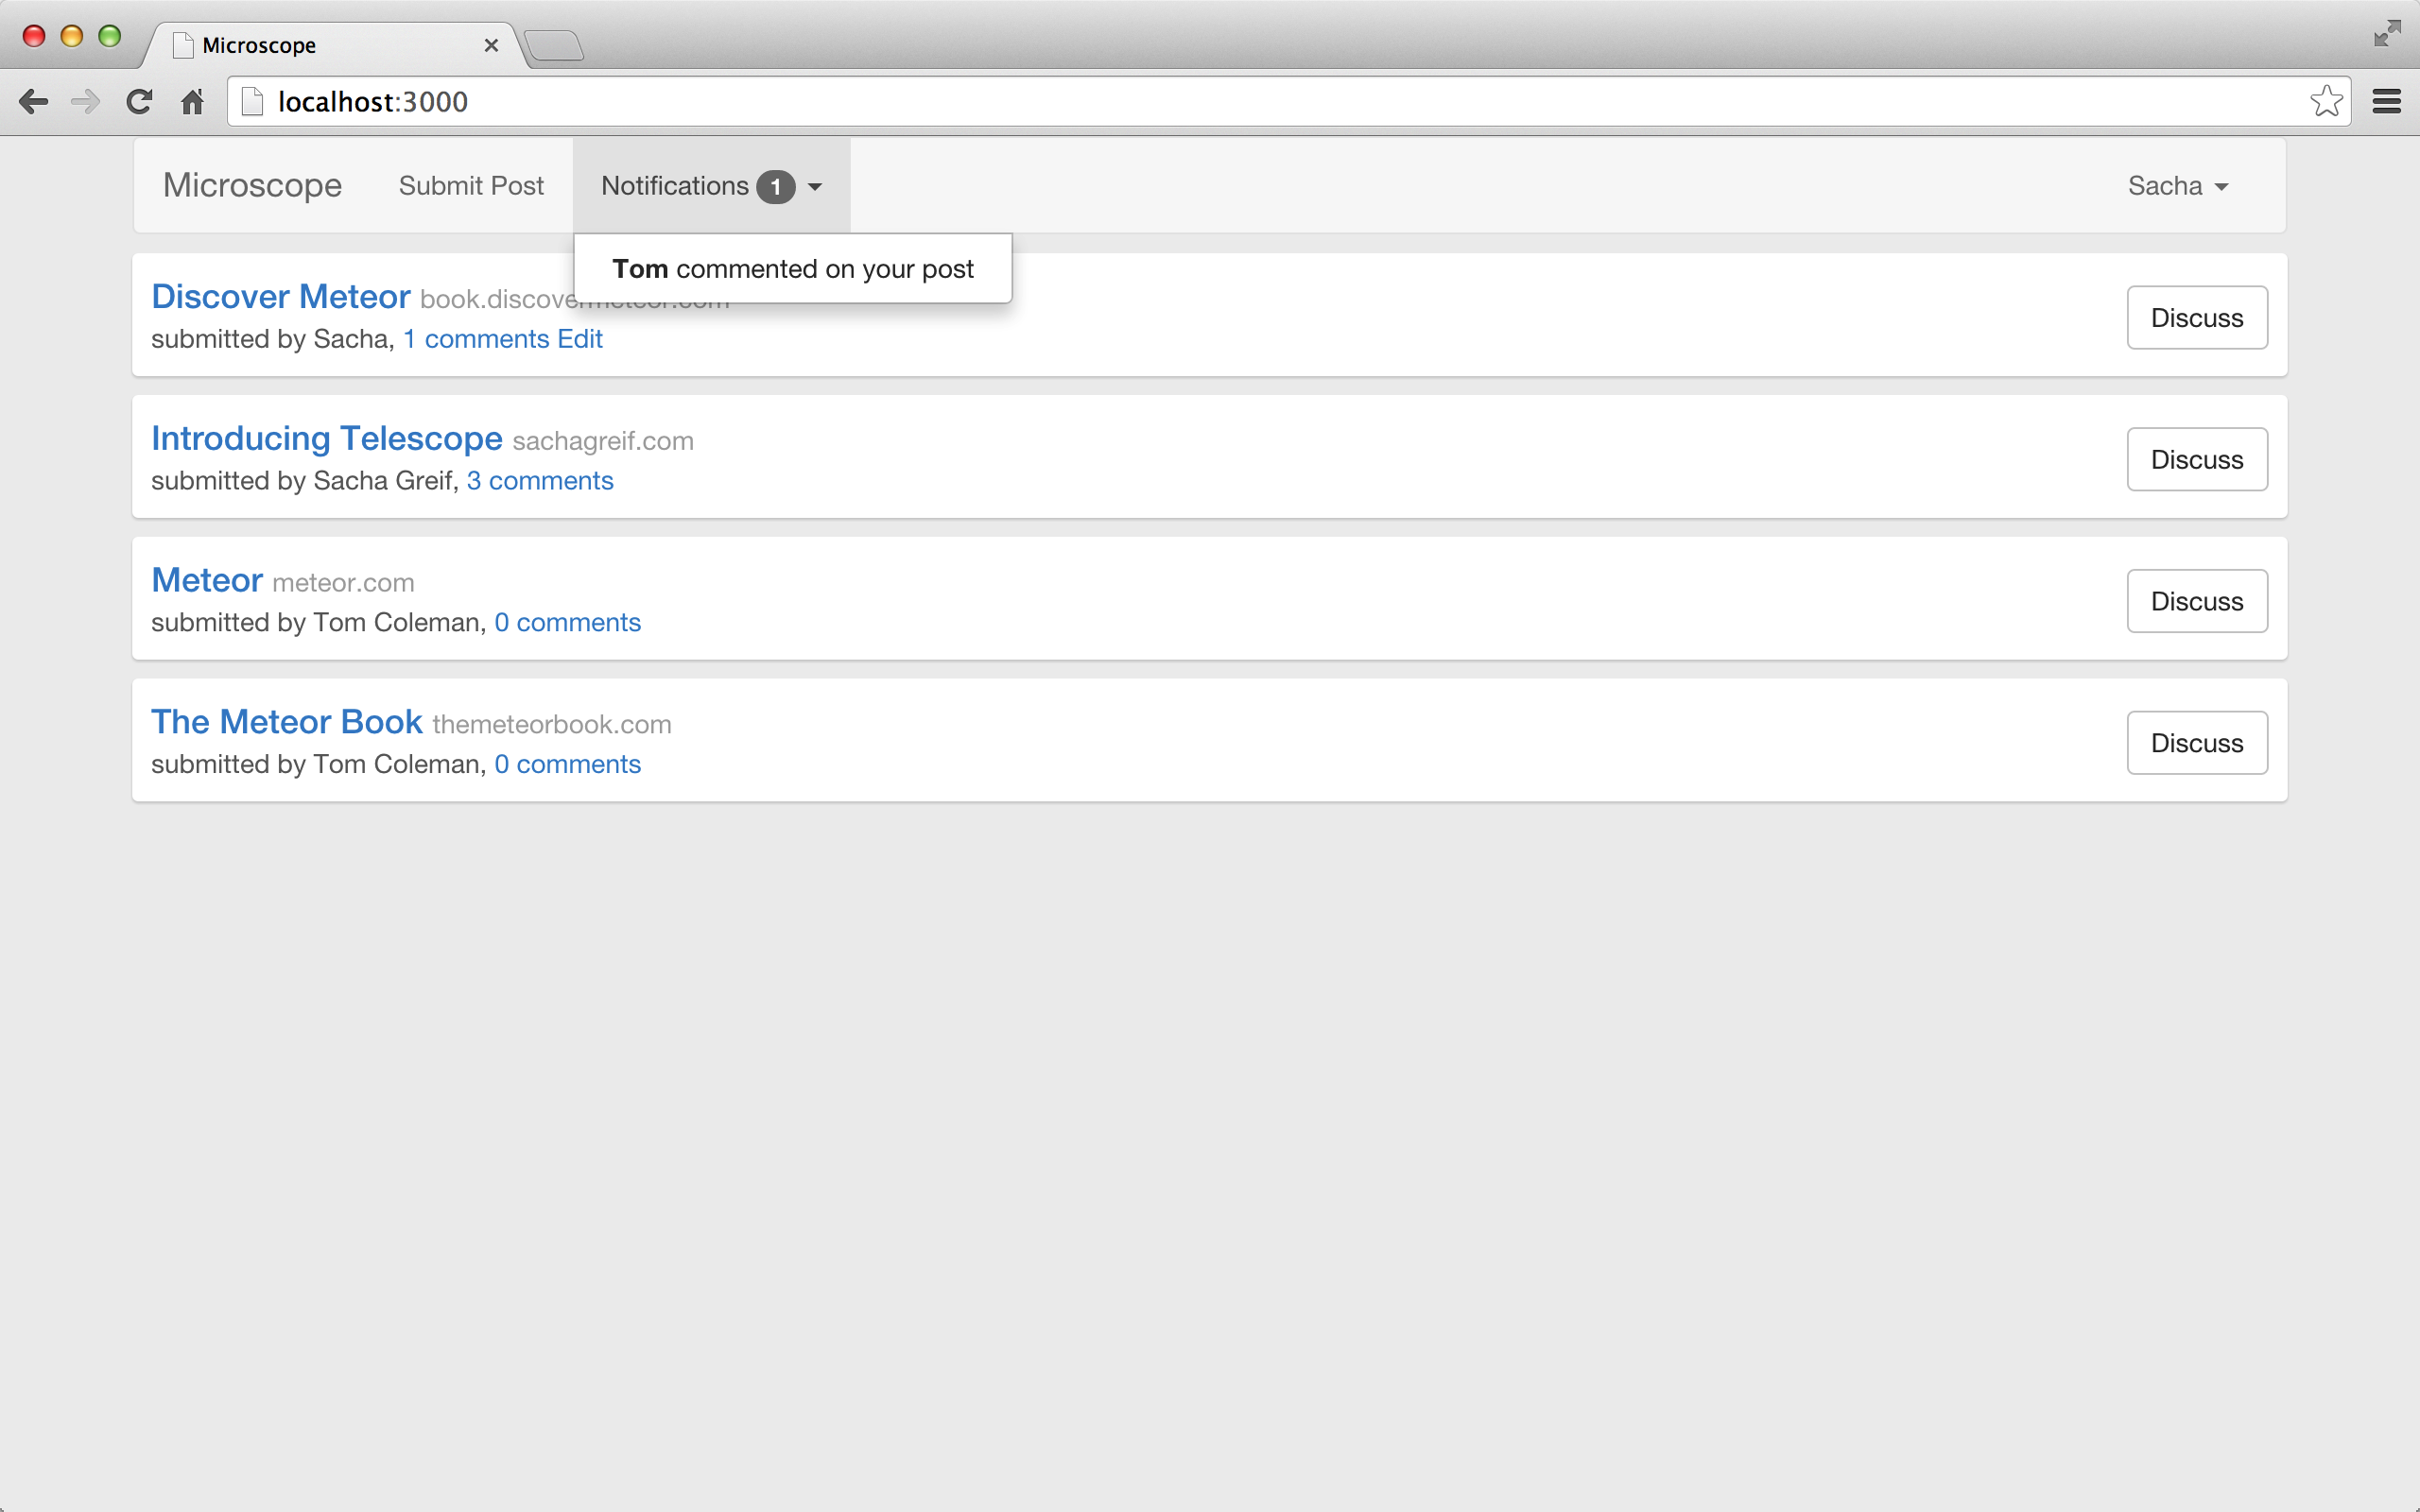
</template>我们可以看到每个 notification 有一个指向帖子的链接,而且包含注释作者的名字。
接下来我们需要确定在 helper 中选择了正确的 notifications 列表,并且在用户点击链接后将 notifications 标记为已读。
Template.notifications.helpers({
  notifications: function() {
    return Notifications.find({userId: Meteor.userId(), read: false});
  },
  notificationCount: function(){
    return Notifications.find({userId: Meteor.userId(), read: false}).count();
  }
});

Template.notificationItem.helpers({
  notificationPostPath: function() {
    return Router.routes.postPage.path({_id: this.postId});
  }
});

Template.notificationItem.events({
  'click a': function() {
    Notifications.update(this._id, {$set: {read: true}});
  }
});
你可能觉得 notifications 和 errors 很像,是的从结构上看他们很相似。但有一点不同: 我们为 notification 创建了一个集合。这意味着 notification 是持久化的,他对于同一用户不论浏览器刷新还是跨设备都是存在的。
试一下: 打开一个新的浏览器 (比如 Firefox), 然后创建一个新用户, 然后在主用户的帖子下发表一个评论 (在 chrome 中)。你将看到如下:
控制 notifications 的访问权限
Notifications 工作的很好。然后这有一个小问题:所有人都能看到我们的 notifications。
如果你的浏览器还开着,试一下在浏览器 console 中输入以下 js 代码:
❯ Notifications.find().count();
1
一个新的用户 (当有帖子被评论时) 不该收到任何 notifications. Notifications 集合中的内容实际上属于以前的用户。
除了可能的隐私问题外,我们不能让浏览器显示每条 notifications 的原因是. 对于一个足够规模的网站,这么做会很容易耗尽浏览器内存,并带来严重的性能问题。
我们通过 publications 来解决这个问题。我们可以通过 publications 来精确的指定哪部分集合我们想共享给其他用户。
为了实现这个,我们需要在 publication 中返回不同的 cursor 而不是使用 Notifications.find()。换句话说,我们返回的 cursor 是和当前用户的 notificatons 相关的。
这么做足够直接,因为 publish 函数有当前用户的 _id, 它存在于 this.userId 中:
Meteor.publish('notifications', function() {
  return Notifications.find({userId: this.userId, read: false});
});
现在看一下我们的两个浏览器窗口,我们会看到两个不同的 notifications 集合。
❯ Notifications.find().count();
1
❯ Notifications.find().count();
0实际上,当你登录和登出时 Notifications 集合都会变化。这是因为当账户变化时 publications 会自动重新发布。
我们的 app 功能越来越完善,当越来越多的用户发帖时,我们的首页会无限长。下一章我们通过分页来解决这个问题。